
Introduction
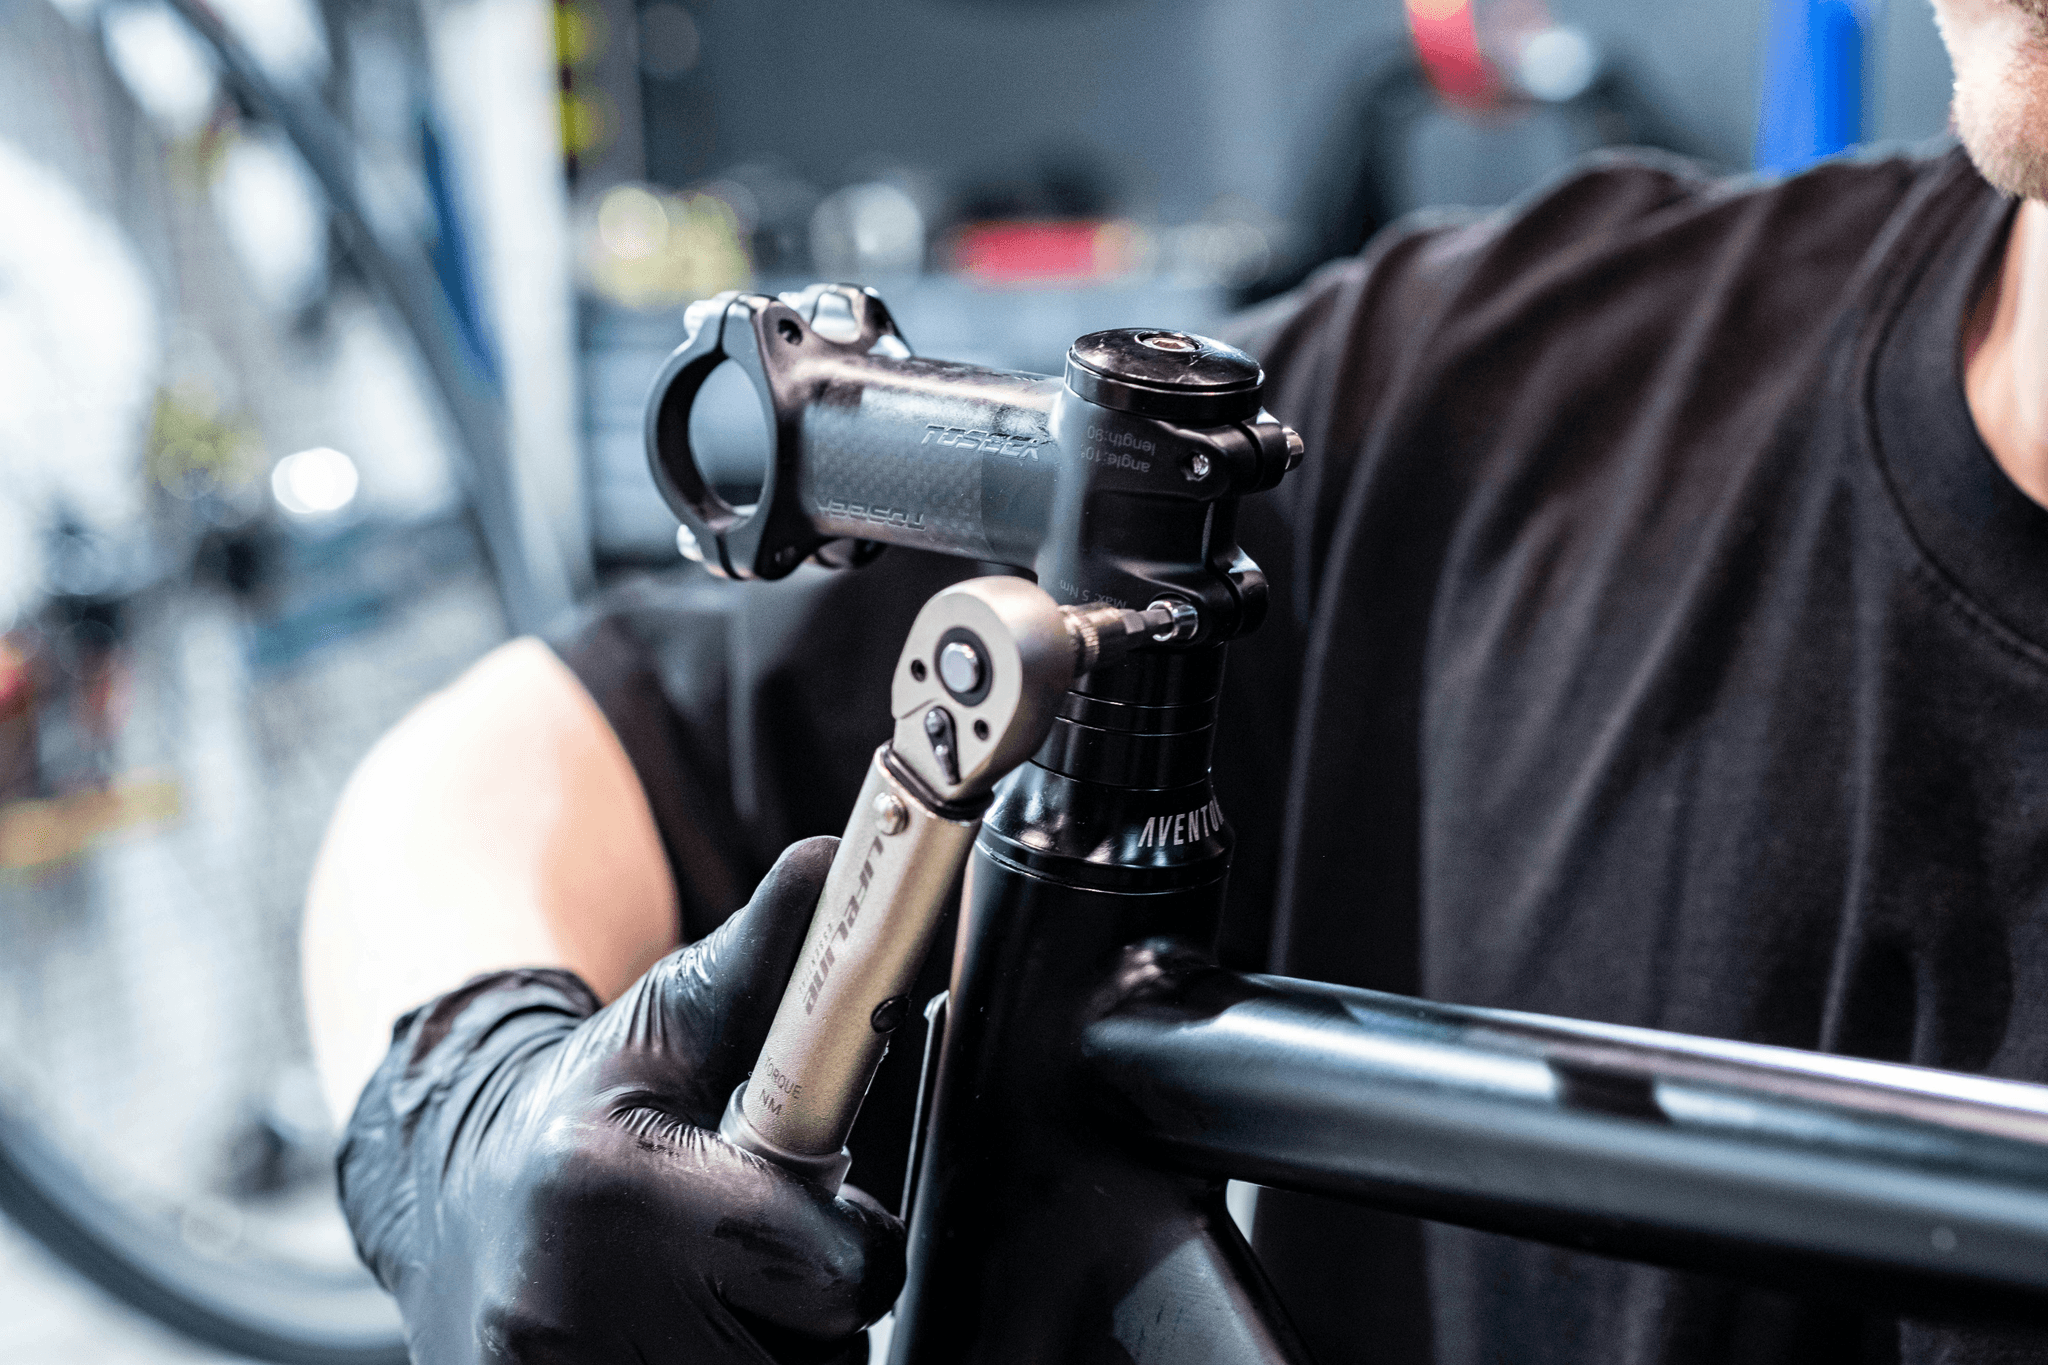
Keeping your bike in top shape isn't just about looking good on the road; it’s about safety, performance, and peace of mind. Regular On-Site Bike Tests ensure that every component—from tire pressure to torque checks on nuts and bolts—is functioning properly before you hit the pavement. By staying proactive with these inspections, you can catch potential issues early and enjoy a smoother, safer ride every time.
Why Regular On-Site Bike Tests Matter
Performing regular On-Site Bike Tests is essential because bikes are subjected to various stresses during every ride. These tests help identify problems like loose nuts and bolts or worn-out tires before they turn into costly repairs or safety hazards. Incorporating routine checks such as tire pressure check, noise and abnormal sound check, and fatigue test keeps your bicycle reliable and ready for any adventure.
How to Prepare for Your Bicycle Inspection Checklist
Preparation is key when conducting your bicycle inspection checklist—think of it as getting your bike ready for its big debut. Gather necessary tools for torque checks on nuts and bolts, ensure you have a pump for tire pressure check, and set aside time for assembly and full function checks. Familiarizing yourself with each step will make the process smooth, efficient, and thorough, so nothing gets overlooked during your riding test.
Ensuring Safety and Performance with Proper Checks
The goal of these inspections is simple: keep your bicycle safe while maximizing performance through diligent checks like noise and abnormal sound check or rub test on labels. Performing a riding test allows you to feel how well the bike handles steering responsiveness and comfort after completing assembly checks. Remember, consistent fatigue tests on frame stability combined with proper tire pressure check can prevent long-term wear issues—making sure your ride remains safe, smooth, and enjoyable at all times.
Initial Assembly and Full Function Checks
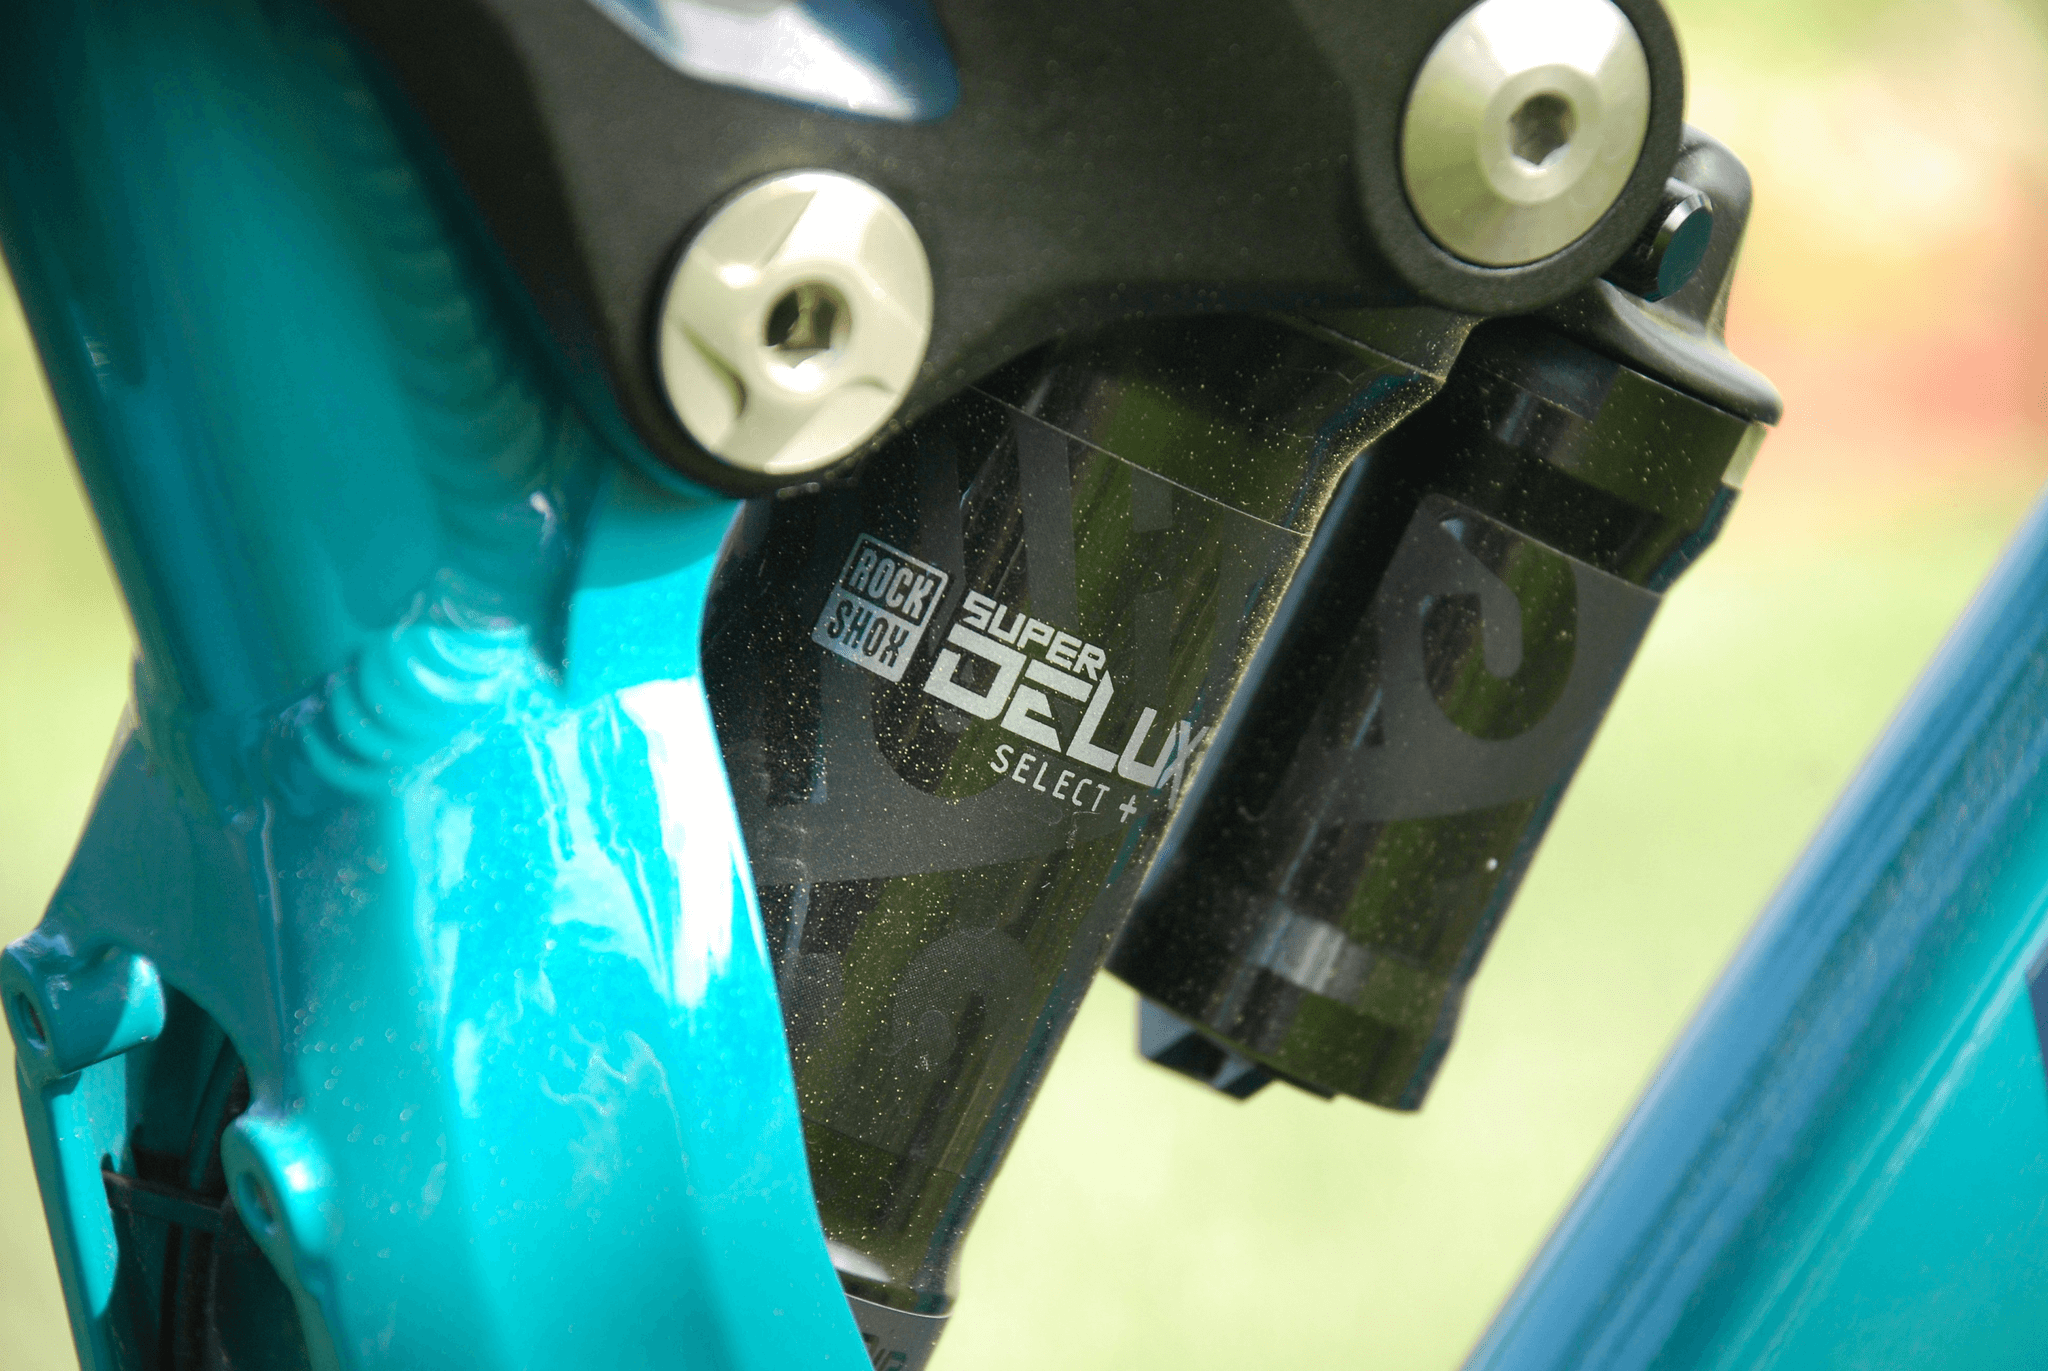
Before you hit the road, it's crucial to perform thorough assembly and full function checks to ensure your bike is ready for On-Site Bike Tests. This step helps catch any loose parts or misalignments that could cause problems during riding or inspection. Remember, a well-assembled bike not only passes tests but also keeps you safe and confident on every ride.
Confirm Proper Frame Assembly
Start by carefully inspecting the frame assembly, making sure all welds are intact and there are no cracks or dents. Tighten all nuts and bolts, focusing on critical areas like the head tube, seat stays, and bottom bracket—these are often scrutinized during On-Site Bike Tests. A solid frame setup ensures your bike can handle torque checks on nuts and bolts without any surprises popping up during safety inspections.
Test Shifting and Braking Systems
Next up is testing the shifting system to confirm smooth gear changes across all speeds; this is vital for passing On-Site Bike Tests that include gear mechanism checks. Apply pressure to the brakes to verify they engage promptly without squeaks or unusual noises—noise and abnormal sound checks are common in these assessments. Properly functioning brakes paired with responsive shifting make your riding test a breeze.
Inspect Gear Mechanisms and Derailleurs
Finally, examine gear mechanisms and derailleurs closely for alignment issues or signs of wear that could cause chain slips or poor shifting performance later on. During this inspection, it's wise to perform a quick torque check on nuts and bolts securing these components—loose parts can fail during fatigue tests for structural integrity. Ensuring everything is tight, aligned, and operating smoothly sets a strong foundation before moving on to tire pressure check or other detailed evaluations.
Let me know if you'd like me to continue with the next sections!
Tire Pressure Check and Visual Inspection
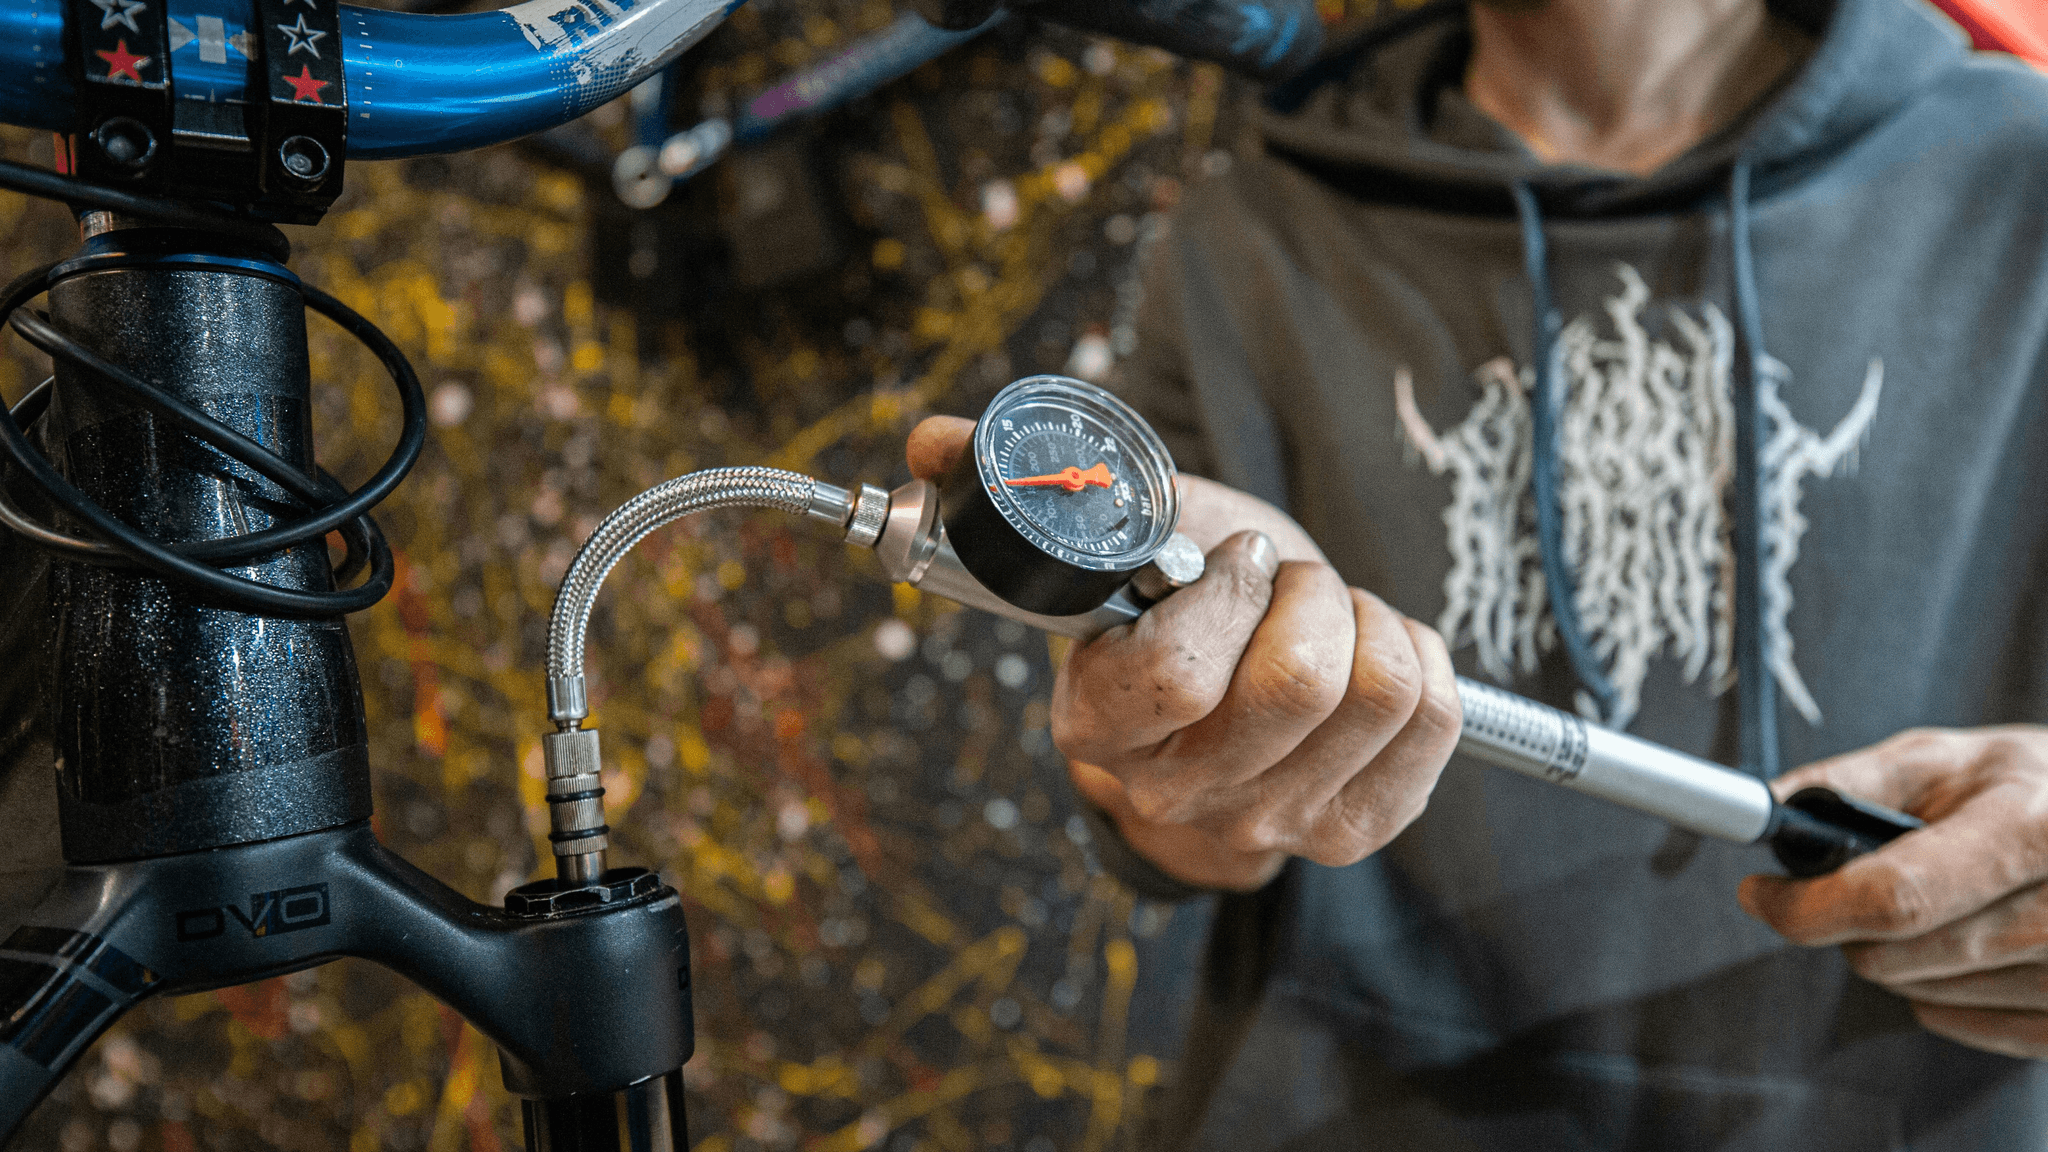
Ensuring your tires are in tip-top shape is a critical part of the on-site bike tests, and skipping this step can lead to unexpected flats or handling issues. Start with a tire pressure check—using a reliable gauge—to verify each tire is inflated to the manufacturer’s recommended PSI. Properly inflated tires not only improve ride comfort but also play a vital role in passing those torque checks on nuts and bolts during assembly and full function checks.
Once you've confirmed the pressure levels are spot-on, move on to examining the tire tread and sidewalls. Look for signs of wear, embedded debris, or foreign objects that could compromise safety during riding tests. A thorough visual inspection helps identify cuts, gashes, or punctures that might cause trouble later, especially when performing fatigue tests or riding assessments.
Finally, scrutinize the tires for cuts, gashes, or foreign objects lodged in the tread area. These issues can interfere with handling during riding tests and may result in failures during noise and abnormal sound checks. Remember, neglecting these visual cues could mean your bike doesn’t pass on-site bike tests smoothly; so take your time inspecting every inch of those rubbery surfaces before moving forward.
Torque Checks on Nuts and Bolts
Ensuring your bike is ready for On-Site Bike Tests involves more than just a quick glance; it requires meticulous torque checks on nuts and bolts to keep everything in top shape. Loose fasteners can turn a smooth ride into a safety nightmare, so proper tightening is essential before heading out for any assembly and full function checks. Remember, a well-torqued bike not only passes the riding test but also prevents unexpected issues down the road.
Tighten Critical Fasteners Properly
During your pre-ride inspection, paying close attention to torque checks on nuts and bolts is crucial. Use a reliable torque wrench to tighten fasteners according to manufacturer specifications, especially on critical components like the stem, handlebars, and seat post. This step ensures that all parts stay secure during your ride, reducing the risk of loosening during rides or after prolonged fatigue tests. Proper tightening helps your bike pass On-Site Bike Tests with flying colors while maintaining safety and performance.
Focus on Stem, Handlebars, and Seat Post
The areas most prone to loosening—stem bolts, handlebar clamps, and seat post collars—demand extra attention during torque checks on nuts and bolts. These components are vital for riding comfort and handling responsiveness; if they loosen during a riding test or fatigue test, control can be compromised. Regularly checking these fasteners not only ensures they’re tightened correctly but also prolongs their lifespan, making every On-Site Bike Test smoother than ever.
Prevent Loosening During Rides
Preventing bolt loosening during rides starts with diligent torque checks on nuts and bolts before each ride or inspection session. Vibrations from rough terrain or extended riding stress can gradually loosen fasteners if not properly torqued — which is why routine checks are non-negotiable in any assembly process. Incorporating regular torque checks into your maintenance routine guarantees that your bike remains safe through noise and abnormal sound check phases as well as long-term fatigue tests.
Riding Test for Handling and Comfort
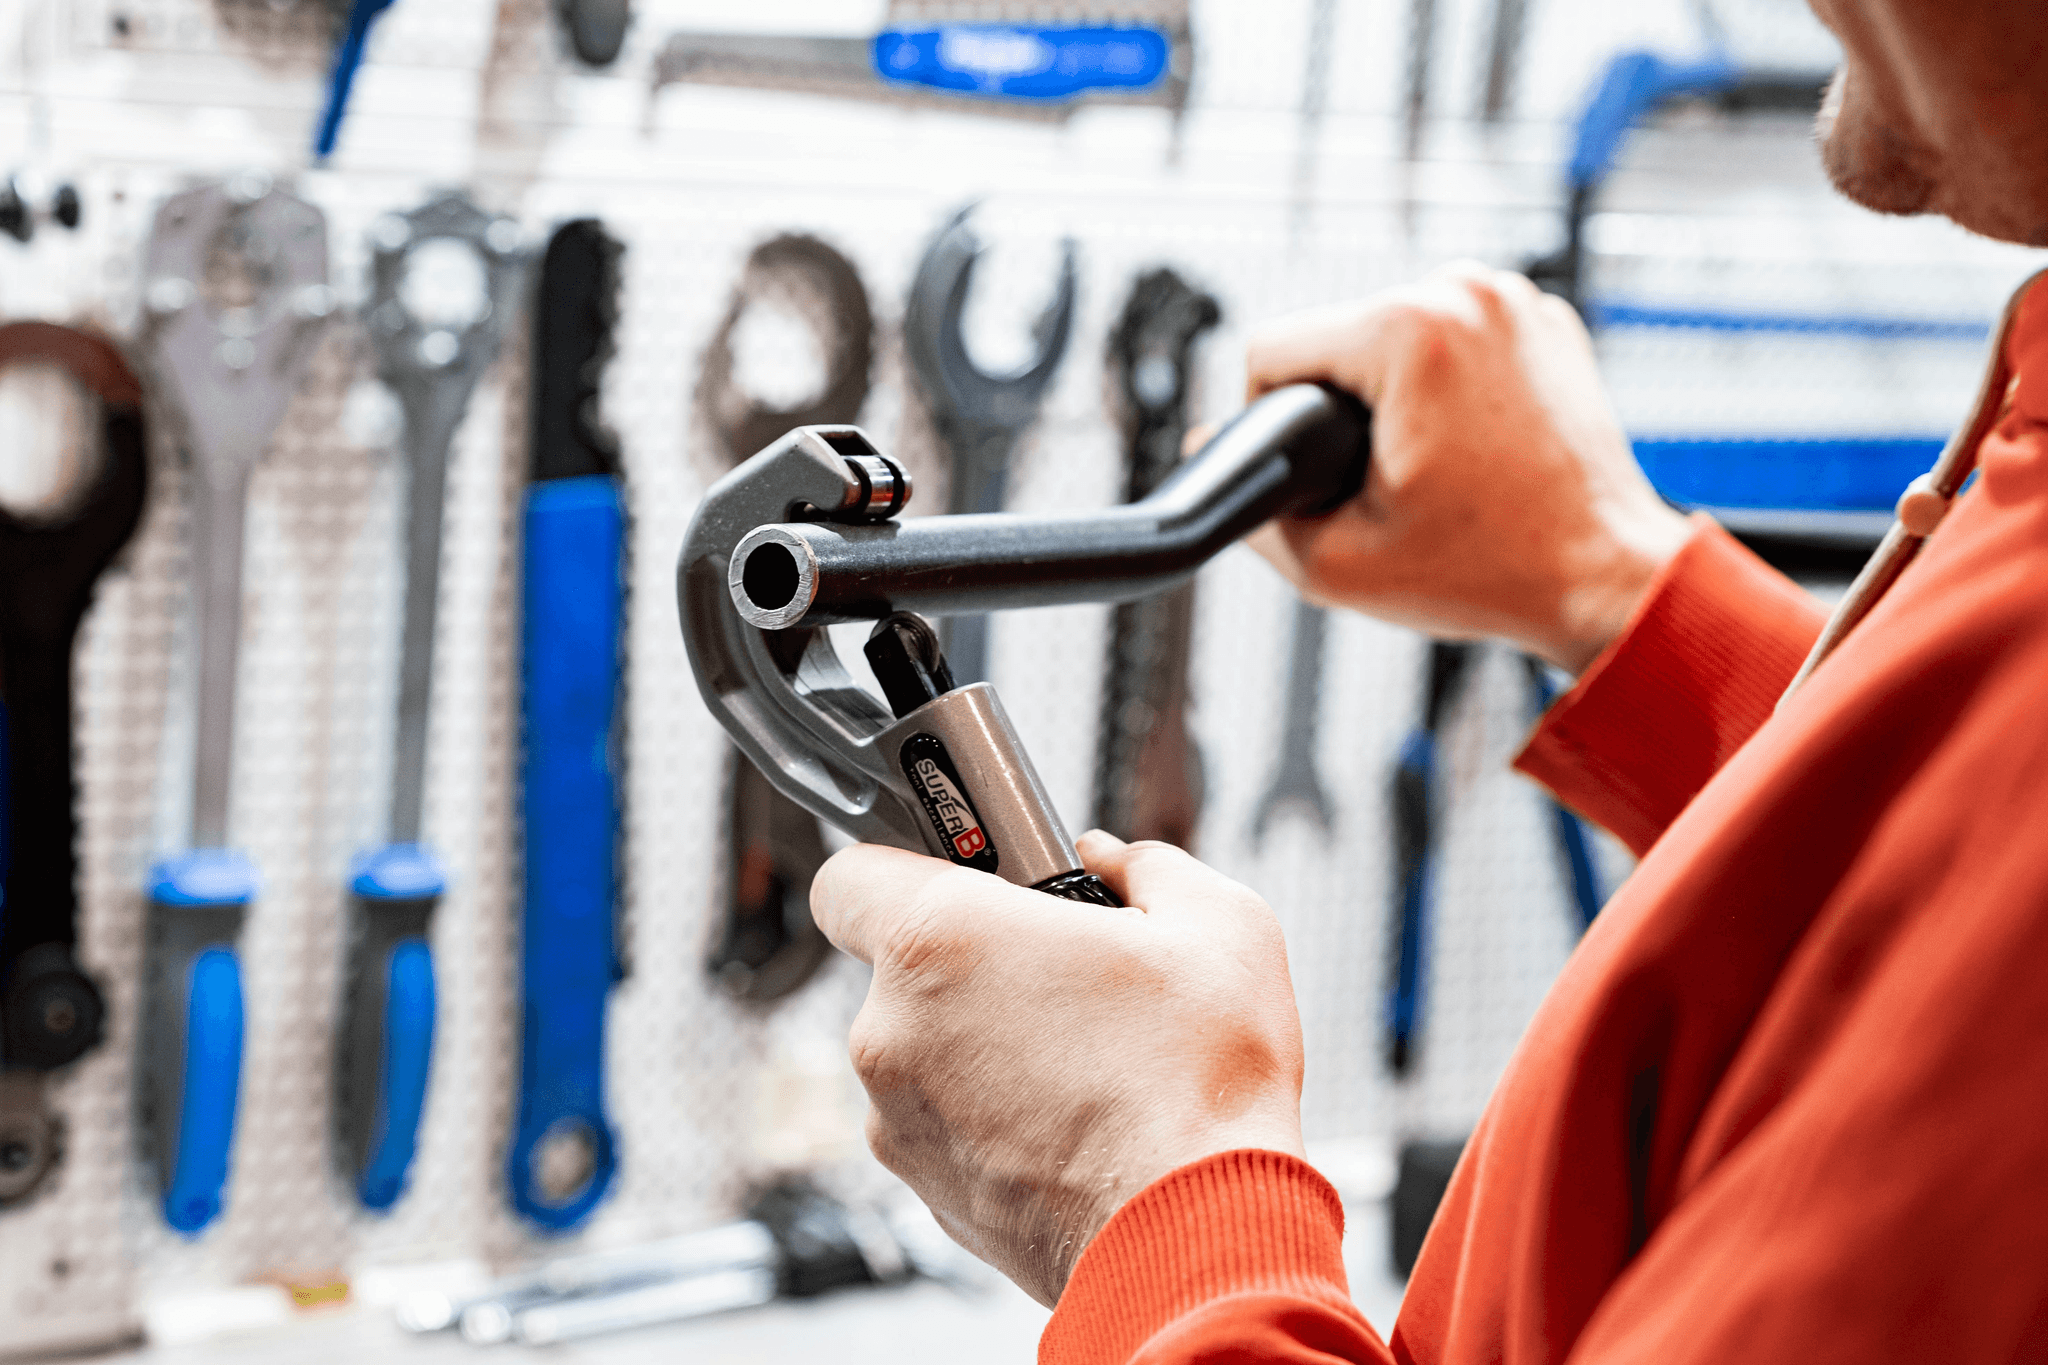
Once your assembly and full function checks are complete, it's time to hit the road with a riding test. This is where you truly gauge how well your bike performs under real-world conditions, making it an essential part of On-Site Bike Tests. During this phase, paying attention to handling and comfort ensures that every ride is smooth, safe, and enjoyable.
Test Steering Responsiveness
Start by taking gentle turns to see how quickly and smoothly your bike responds. If the steering feels sluggish or overly stiff, it might be time for torque checks on nuts and bolts that influence the headset or handlebar assembly. A responsive steering system is crucial for safety during On-Site Bike Tests, as it directly impacts control and confidence on the road.
Assess Saddle and Handlebar Comfort
Next, sit comfortably on the saddle and hold the handlebars to evaluate overall riding ergonomics. Discomfort could indicate misaligned components or insufficient suspension performance, which should be addressed during assembly checks or suspension adjustments. Remember, a comfortable rider is a safer rider—so don’t skip this step in your On-Site Bike Tests.
Check Suspension Performance
Finally, test your bike’s suspension by riding over uneven terrain or bumps to see how well it absorbs shocks. Poor suspension performance might be linked to tire pressure check issues or worn-out components that need attention during fatigue tests or noise checks. Ensuring optimal suspension helps prevent fatigue stress on both rider and bike during extended rides.
Noise and Abnormal Sound Check
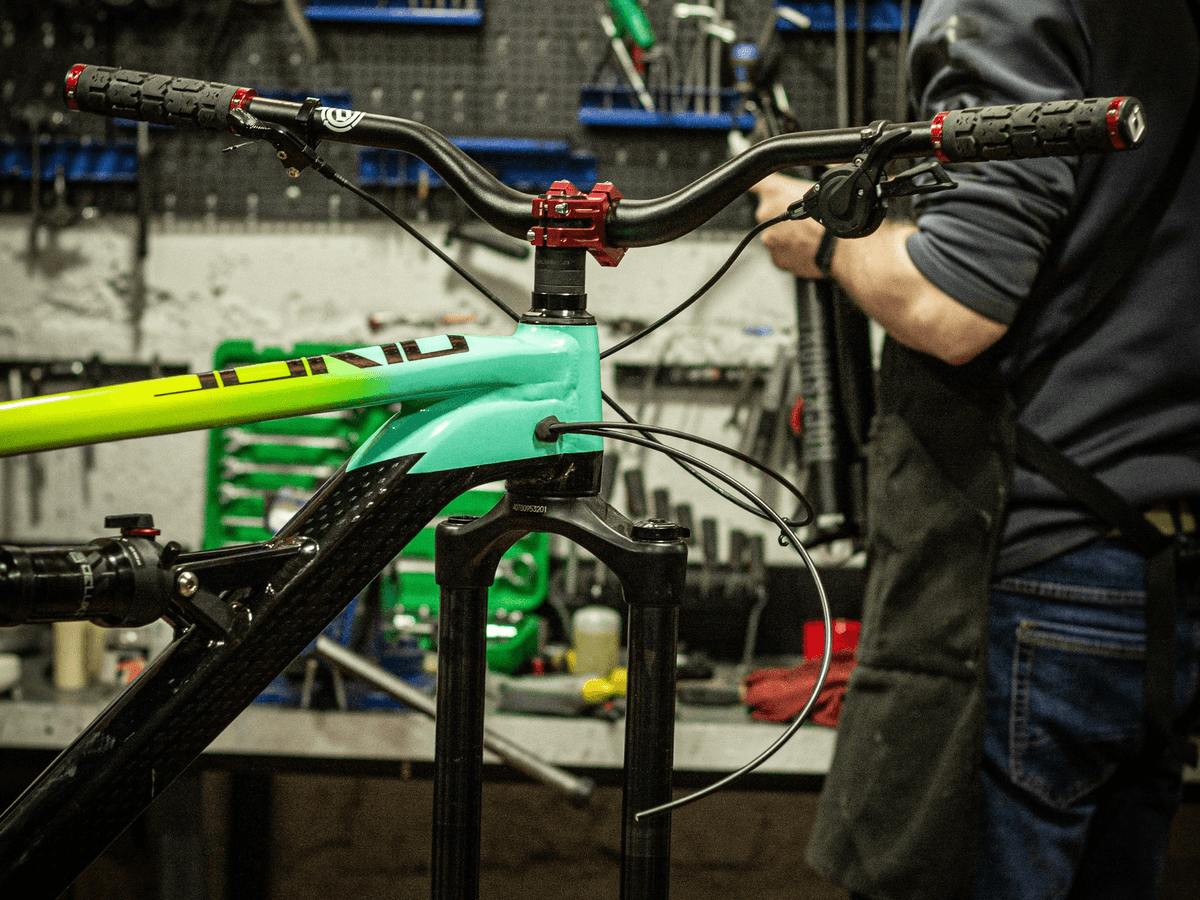
When performing On-Site Bike Tests, listening carefully for unusual sounds during pedaling can reveal a lot about your bike’s health. Squeaks, creaks, or grinding noises often point to issues with the chain, brakes, or other moving parts that need immediate attention. Ignoring these sounds might lead to bigger problems down the road, so always include a thorough noise and abnormal sound check in your routine.
Listen for Unusual Sounds During Pedaling
During your assembly and full function checks, take a moment to ride the bike and pay close attention to any odd noises. These sounds could be squeaking from the brake pads rubbing against the rims or creaking coming from the headset or seat post. Incorporating a noise check into your riding test ensures you catch potential issues early before they escalate into costly repairs.
Identify Potential Chain or Brake Issues
Unusual noises during riding often originate from chain tension problems or brake misalignments that weren't obvious during torque checks on nuts and bolts. If you hear rattling or grinding when shifting gears, it’s time for a detailed inspection of the gear mechanisms and brake pads during your tire pressure check phase. Addressing these issues promptly helps maintain optimal performance and safety on every ride.
Detect Squeaks or Creaks
Squeaks and creaks are more than just annoying; they’re signals that something’s not quite right with your bike’s components. These sounds can originate from loose assembly parts that slipped past torque checks on nuts and bolts or dry lubrication points needing attention during lubrication routines. Conducting this noise and abnormal sound check regularly keeps your bike in top shape for all future rides.
Fatigue Test for Structural Integrity
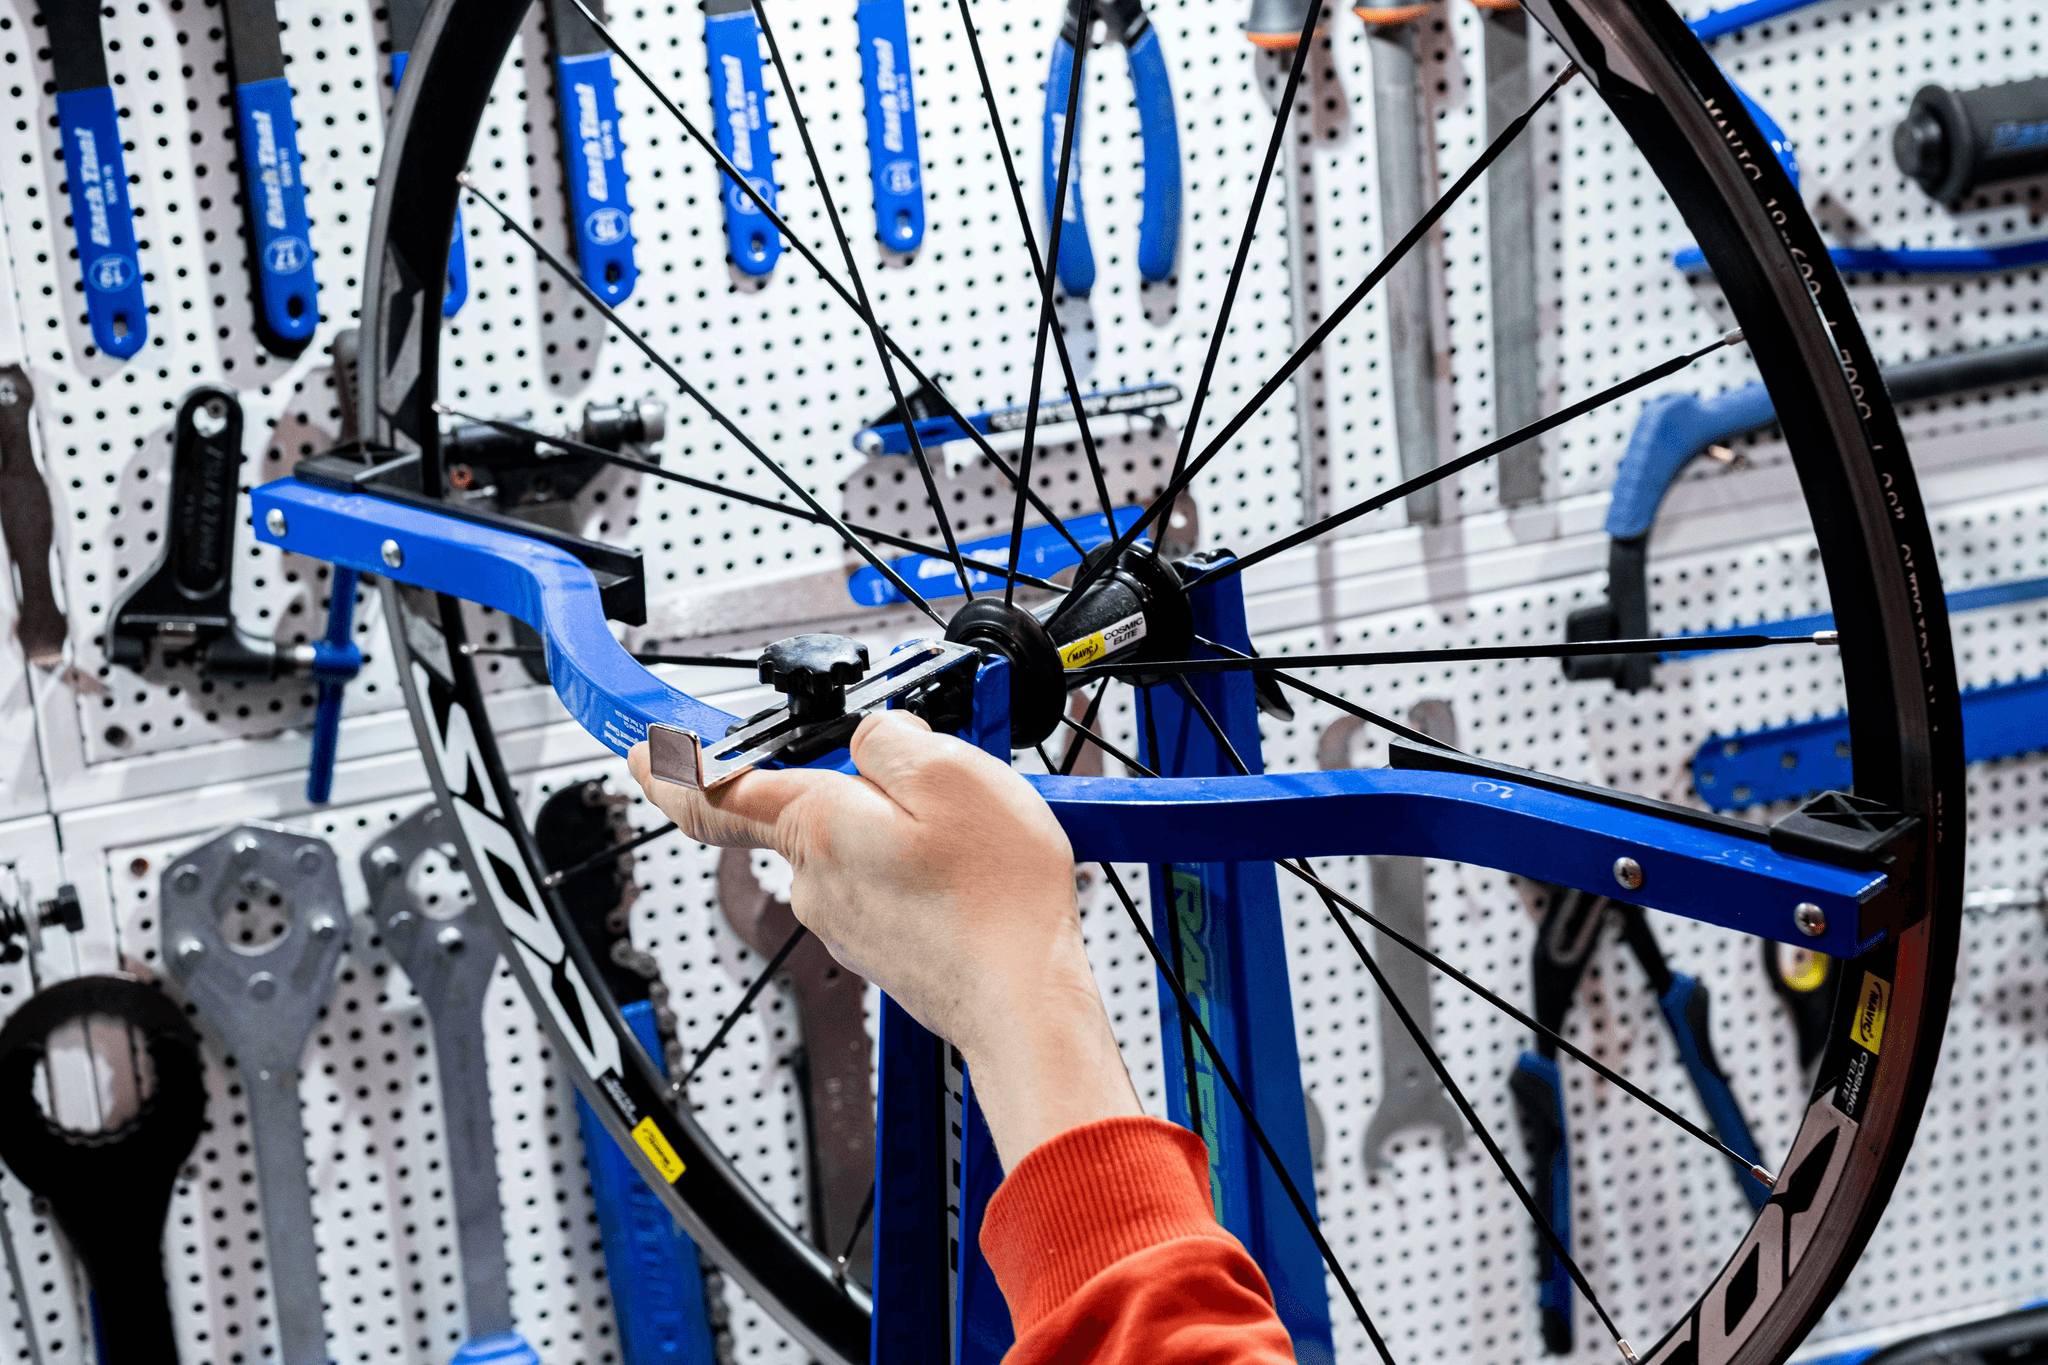
Performing a fatigue test is a crucial step in the On-Site Bike Tests process, ensuring your bicycle can handle extended rides without breaking a sweat—or worse, breaking down. This involves simulating real-world stresses that bikes endure over time, so you can be confident about long-term durability. Think of it as giving your bike a mini marathon to see if it can keep up without any surprises.
Simulate Extended Riding Stresses
To truly put your bike through its paces during an On-Site Bike Tests session, simulate extended riding stresses by riding continuously for an hour or more under controlled conditions. This helps identify how well the frame and components hold up under prolonged use and whether they maintain their integrity after repeated stress cycles. Remember, this isn't just about speed; it's about testing endurance—just like in real life.
Examine Frame and Fork Stability
After the simulated ride, inspecting the frame and fork stability becomes paramount during your On-Site Bike Tests. Look for any signs of flexing or unusual movement that could indicate material fatigue or developing cracks. Tighten torque checks on nuts and bolts as needed to ensure everything remains securely fastened—because loose parts are the enemy of safety and longevity.
Ensure Components Withstand Long-Term Use
Finally, during the fatigue test phase of your On-Site Bike Tests, verify that all components—from gears to brakes—can withstand long-term use without degrading performance. Pay close attention to areas subjected to repetitive stress; this is where issues often hide in plain sight. Conduct thorough torque checks on nuts and bolts periodically throughout testing to prevent future failures once back on the road.
Rub Test on Labels and Decals
Performing a rub test on labels and decals is an often-overlooked step during On-Site Bike Tests, but it’s crucial for maintaining both safety and aesthetics. Over time, labels can peel or loosen, which might interfere with the bike’s overall integrity or compliance standards. A quick rub test helps identify any loose adhesives so you can address issues before they become bigger problems.
Check for Loose or Peeling Label Adhesives
Start by gently rubbing your fingers over the labels and decals on your bike frame, components, and accessories. If any edges lift or feel sticky, that indicates a loose adhesive that needs attention. During assembly and full function checks, don’t forget to include this step—loose labels could fall off during riding tests or fatigue tests, compromising safety and appearance.
Verify Labels Don’t Interfere with Function
While inspecting labels during On-Site Bike Tests, ensure they aren’t obstructing moving parts like gears, brakes, or suspension components. Any label placed too close to these areas could interfere with proper function or cause wear over time. Checking the labels’ placement is a simple yet effective way to prevent potential noise issues during noise and abnormal sound checks later in the process.
Maintain Bike Aesthetics and Compliance
A well-maintained bike isn’t just about performance—it’s also about appearance and compliance with regulations. During tire pressure checks or torque checks on nuts and bolts, take a moment to ensure decals are intact and properly adhered for a sleek look that passes visual inspections during ride quality assessments. Keeping decals in check supports long-term durability through fatigue tests by preventing peeling that might expose underlying materials.
By incorporating this simple rub test into your routine during On-Site Bike Tests, you’ll catch potential problems early—saving time during final inspections—and ensure your bicycle remains safe, compliant, and looking sharp after every ride.
Conclusion
Completing thorough on-site bike tests is essential for ensuring your bicycle is safe, reliable, and ready for the road. Proper torque checks on nuts and bolts prevent components from loosening unexpectedly, while a tire pressure check guarantees optimal grip and comfort during rides. Incorporating a comprehensive assembly and full function check sets the foundation for a smooth riding experience, complemented by a riding test that assesses handling and comfort.
Paying attention to noise and abnormal sound checks can reveal hidden issues like chain squeaks or brake creaks that might otherwise go unnoticed. Conducting fatigue tests helps verify the structural integrity of your bike after extended use, making sure it can withstand long-term stresses. Additionally, performing rub tests on labels ensures decals stay put without interfering with bike performance or aesthetics.
Partnering with professionals who understand the importance of these on-site bike tests ensures each step is thoroughly executed. Regularly performing these checks not only prolongs your bike’s lifespan but also keeps you safe on every ride. Remember, a well-maintained bicycle that passes all on-site bike tests is always ready to hit the road with confidence!