
Introduction
In the world of textiles, yarn inspection is the unsung hero that keeps quality standards high and products reliable. Properly inspecting yarns ensures that only the best fibers make it to the final stages, saving time and money by catching issues early. With so many factors at play, understanding how to perform a thorough yarn inspection is essential for maintaining excellence in your textile offerings.
Why Yarn Inspection is Crucial for Quality Assurance
Yarn inspection plays a pivotal role in guaranteeing the quality of your textile products, as it helps identify surface defects and internal defects that could compromise durability or appearance. Knowing the 4 important factors to consider when performing a yarn inspection—material composition, twist and tension, dimensional stability, and contaminants—can make all the difference in delivering flawless fabrics. When you master how to correct yarn defects after yarn inspection, you prevent defective batches from reaching customers and uphold your brand’s reputation.
Common Challenges in Yarn Inspection Processes
One of the biggest hurdles in yarn inspection is accurately detecting Types of Yarn Defects without missing subtle flaws like blemishes or knots. Visual surface defects can sometimes be tricky to spot under poor lighting conditions or when working with complex textures, while internal defects often require advanced techniques like ultrasound inspection—adding layers of complexity. Additionally, inconsistencies such as uneven tension or contamination can slip through if inspectors aren’t vigilant about following best practices during their inspections.
How Proper Inspection Enhances Your Textile Products
Implementing rigorous yarn inspection protocols ensures that surface defects and internal defects are caught early, reducing waste and rework downstream. By focusing on how to correct yarn defects after yarn inspection effectively—such as sorting faulty fibers or reprocessing contaminated batches—you elevate your final product quality significantly. Ultimately, thorough inspections not only improve product standards but also build trust with clients who value consistency and excellence in every thread.
Preparing for Effective Yarn Inspection
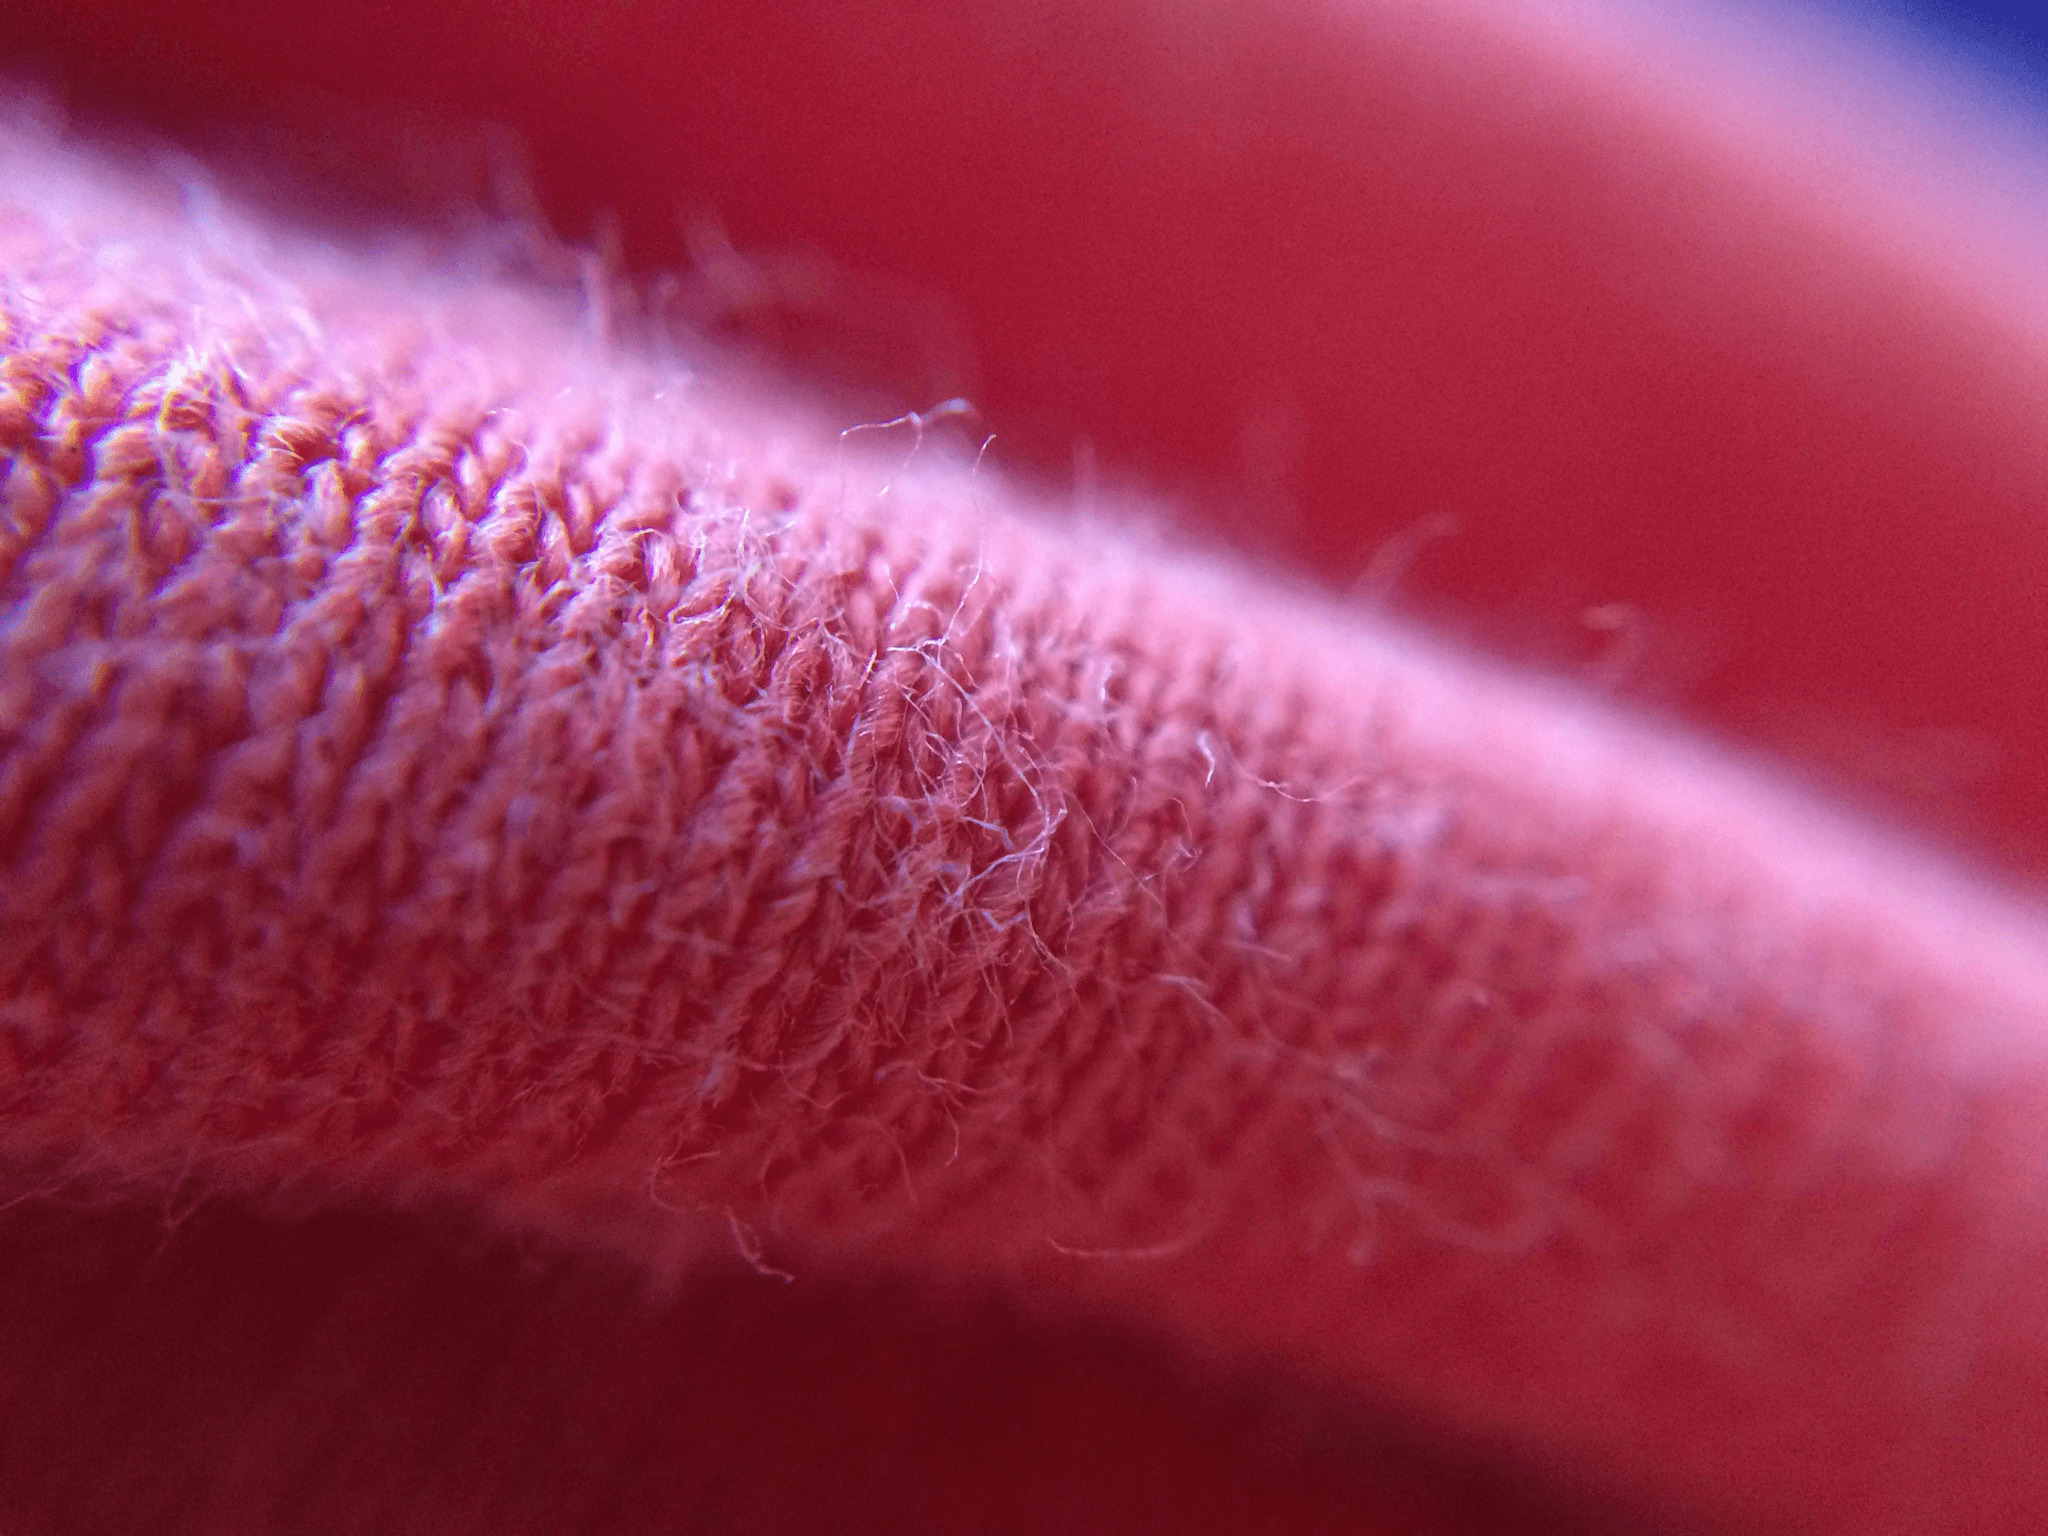
Getting ready for yarn inspection is like setting the stage for a blockbuster performance—you need the right tools, knowledge, and environment to ensure the show goes smoothly. When you understand the 4 Important factors to consider when performing a yarn inspection, you can spot Surface Defects and Internal Defects early, preventing defective batches from slipping through. Proper preparation not only saves time but also boosts confidence in your ability to identify Types of Yarn Defects accurately.
Gathering Necessary Tools and Equipment
Before diving into yarn inspection, assembling the right tools is essential. Basic equipment includes magnifying glasses or loupes for close-up examination of Surface Defects, and possibly ultrasound devices if you're delving into Internal Defects detection. Having precise measurement tools helps verify if the yarn meets specified standards—crucial when assessing the 4 Important factors to consider when performing a yarn inspection—like tension and dimensional stability—and ensures you can effectively identify Types of Yarn Defects that might compromise your product quality.
Understanding Yarn Specifications and Standards
Knowing your yarn specifications is like having a cheat sheet—it guides your inspection process with clarity and purpose. Familiarize yourself with industry standards related to fiber composition, twist levels, tension requirements, and contamination limits; these are all part of the 4 Important factors to consider when performing a yarn inspection. When you understand these parameters thoroughly, spotting Surface Defects such as blemishes or knots becomes straightforward, while internal issues may require more advanced techniques like ultrasound inspection to detect hidden Internal Defects.
Setting Up a Suitable Inspection Environment
Creating an optimal environment for yarn inspection is often overlooked but can make or break your quality control efforts. Ensure proper lighting—preferably daylight or daylight-equivalent—to accurately observe Surface Defects and other irregularities in yarns. A clean, well-organized workspace minimizes distractions and contamination risks that could lead to false readings or overlook Types of Yarn Defects; this way, you're better equipped to analyze each batch carefully based on the 4 Important factors to consider when performing a yarn inspection.
Remember: proper preparation sets the foundation for effective yarn inspection—helping you catch those pesky Types of Yarn Defects before they reach your final product!
Conducting a Visual Surface Defects Inspection
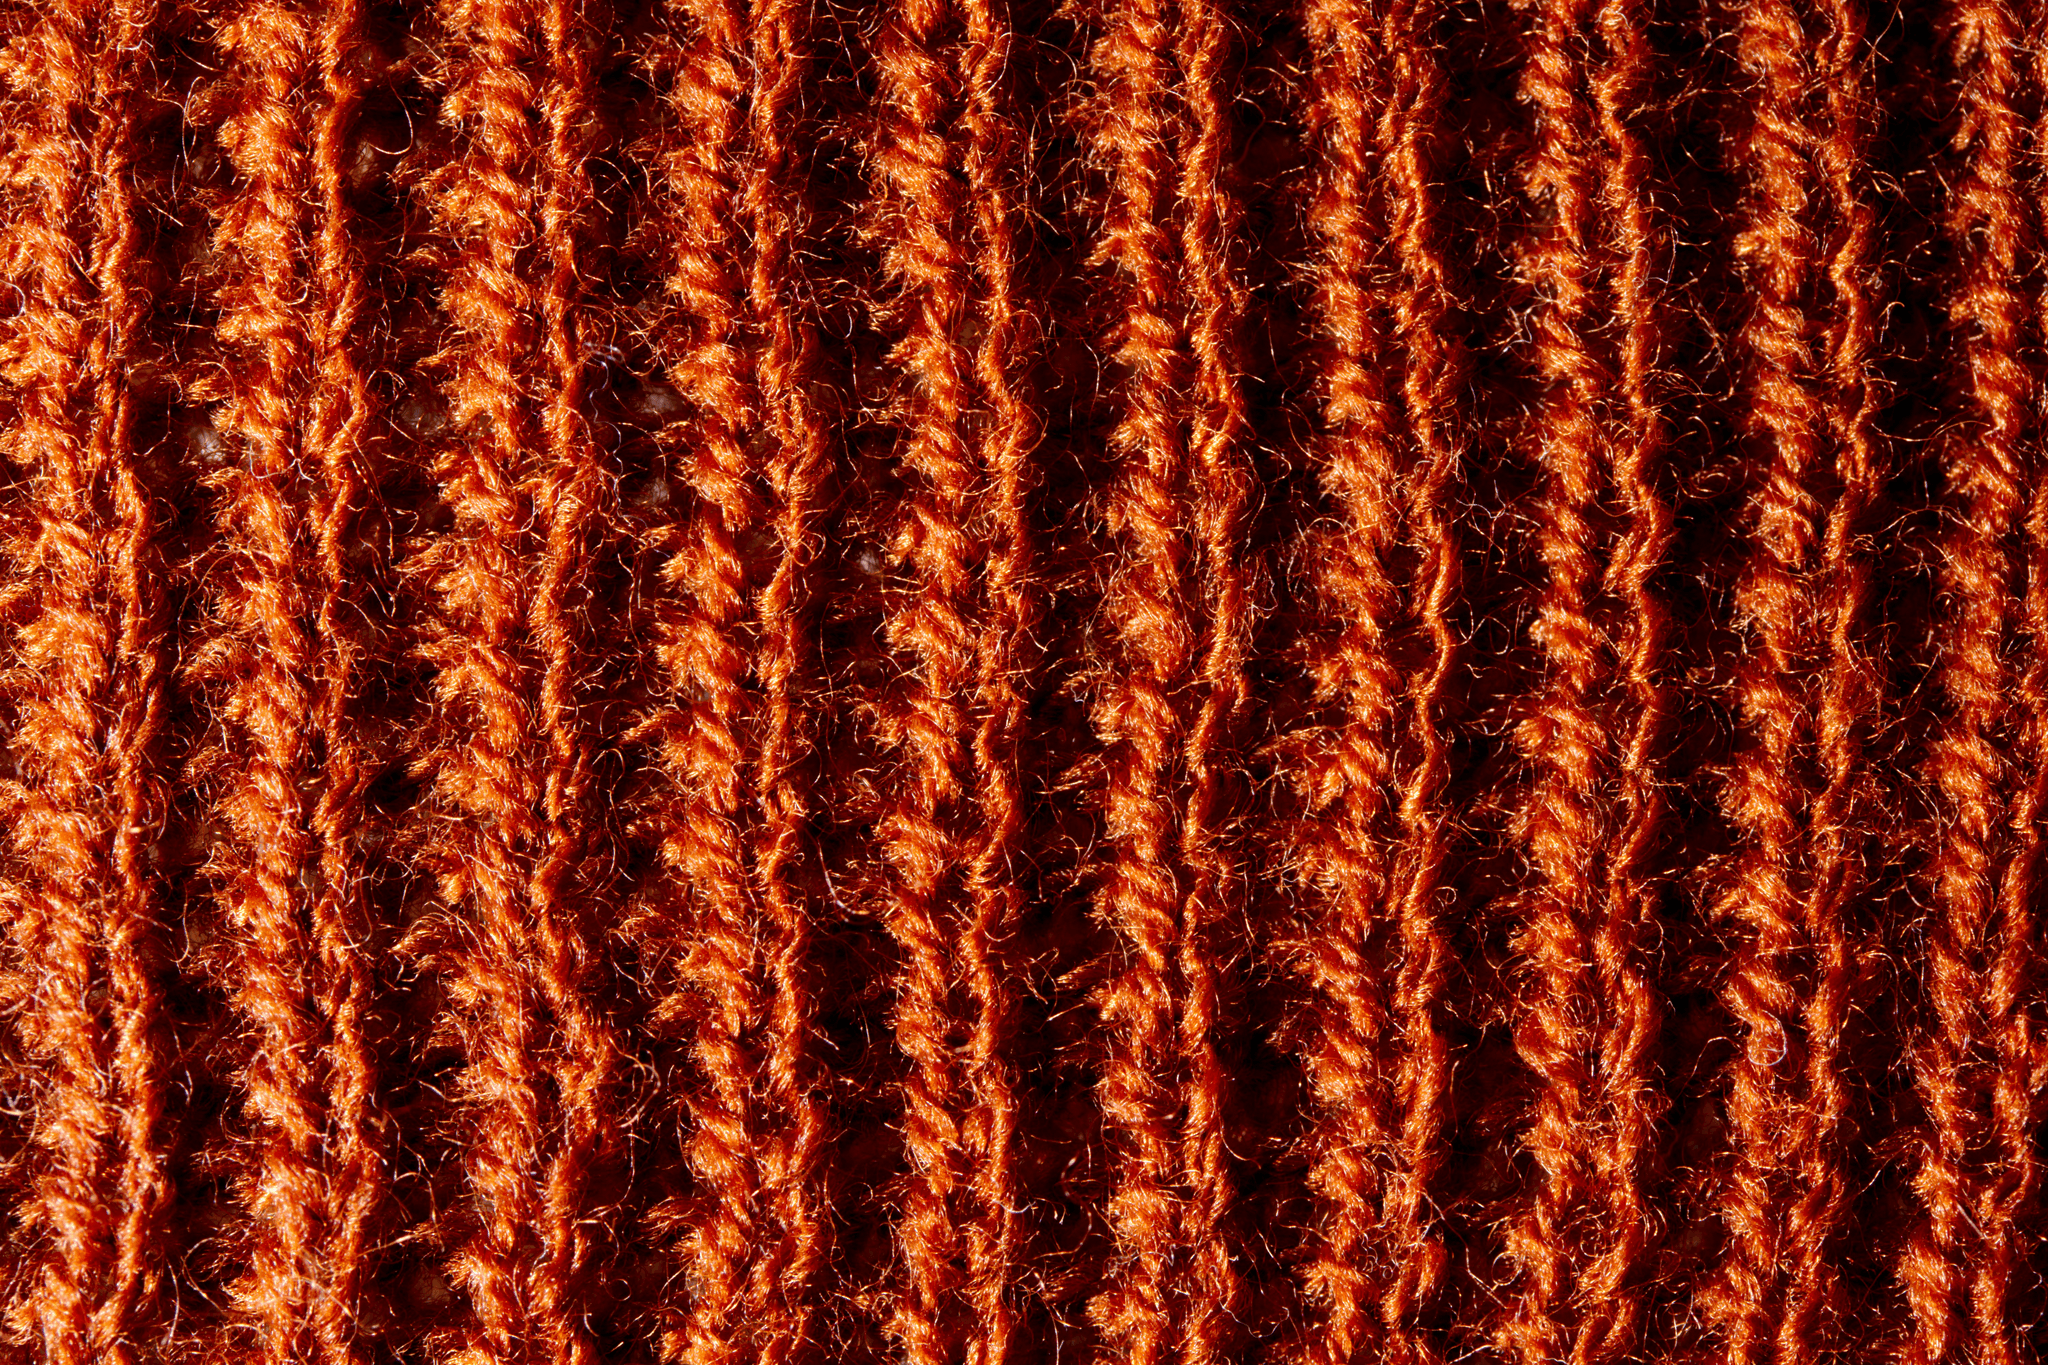
Performing a thorough yarn inspection begins with a keen eye for surface defects that can compromise the quality of your final product. Visual surface defects, such as thick and thin places, are common issues that can signal underlying problems in the manufacturing process. Recognizing these flaws early is crucial because they directly impact the yarn’s strength, appearance, and overall performance, making yarn inspection an essential step in maintaining high standards.
Spotting surface defects like thick and thin places requires close attention to detail. These irregularities often appear as uneven sections along the yarn's length and can lead to weak spots or breakage during processing. When conducting a yarn inspection, it’s vital to understand how these surface flaws fit into the broader context of the 4 Important factors to consider when performing a yarn inspection—material composition, tension consistency, and dimensional stability—all of which influence whether surface defects are acceptable or need correction.
Using proper lighting during visual inspection is key to accurately identifying surface defects. Bright, diffuse light helps reveal blemishes, knots, or inconsistencies that might otherwise be hidden in shadows or poor illumination. Effective lighting enhances your ability to detect subtle surface flaws early on and ensures that your yarn inspection process captures all types of Yarn Defects before they escalate into bigger issues downstream.
Documenting surface defects effectively is just as important as spotting them. Keeping detailed records allows you to track defect patterns over time and assess whether certain batches consistently exhibit specific flaws like thick or thin places. Proper documentation also plays a crucial role when learning How to correct yarn defects after yarn inspection by guiding reprocessing decisions or sorting procedures aimed at minimizing defective products reaching your customers.
By integrating these visual techniques into your routine, you ensure that surface defects are identified early—saving time, reducing waste, and improving overall product quality through effective yarn inspection practices. Remember, recognizing Types of Yarn Defects at this stage helps prevent costly rework later on while reinforcing the importance of meticulous visual examination in achieving flawless textile products.
Detecting Internal Yarn Defects

When it comes to yarn inspection, uncovering internal defects is often the trickiest part. These hidden flaws can jeopardize the overall quality of your textile products if not identified early. Understanding how to detect these internal issues is essential for maintaining high standards and avoiding costly rework down the line.
Techniques for Internal Defects Inspection
Traditional visual checks are great for surface defects, but when it comes to internal yarn defects, more sophisticated techniques are necessary. Methods like ultrasonic testing or X-ray imaging allow inspectors to peer inside the yarn without damaging it, revealing weaknesses such as internal cracks or inconsistencies that aren't visible on the surface. Incorporating these advanced methods into your yarn inspection process ensures you’re considering all 4 important factors to consider when performing a yarn inspection—material integrity, tension uniformity, and dimensional stability—baving a comprehensive picture of quality.
The Role of Breakage and Weakness in Yarn Quality
Breakage and internal weakness are among the most critical types of yarn defects that can severely impact final product durability. When inspecting yarns, understanding how breakages form internally helps you identify potential failure points before they cause issues during weaving or knitting. Recognizing these types of yarn defects early allows manufacturers to implement corrective actions, such as reprocessing or replacing faulty batches, thereby adhering closely to the 4 important factors to consider when performing a yarn inspection—fiber quality and tension consistency—to prevent defective products from reaching consumers.
Using Advanced Methods like Ultrasound Inspection
Ultrasound inspection is rapidly becoming a go-to technique for detecting internal yarn defects efficiently and accurately. This non-destructive method provides detailed insights into the internal structure without compromising the integrity of the yarn itself. By leveraging ultrasound technology in your yarn inspection routine, you can quickly identify types of yarn defects that might otherwise go unnoticed—saving time and reducing waste—and ensure your product meets rigorous standards before moving forward with production.
Recognizing Types of Yarn Defects
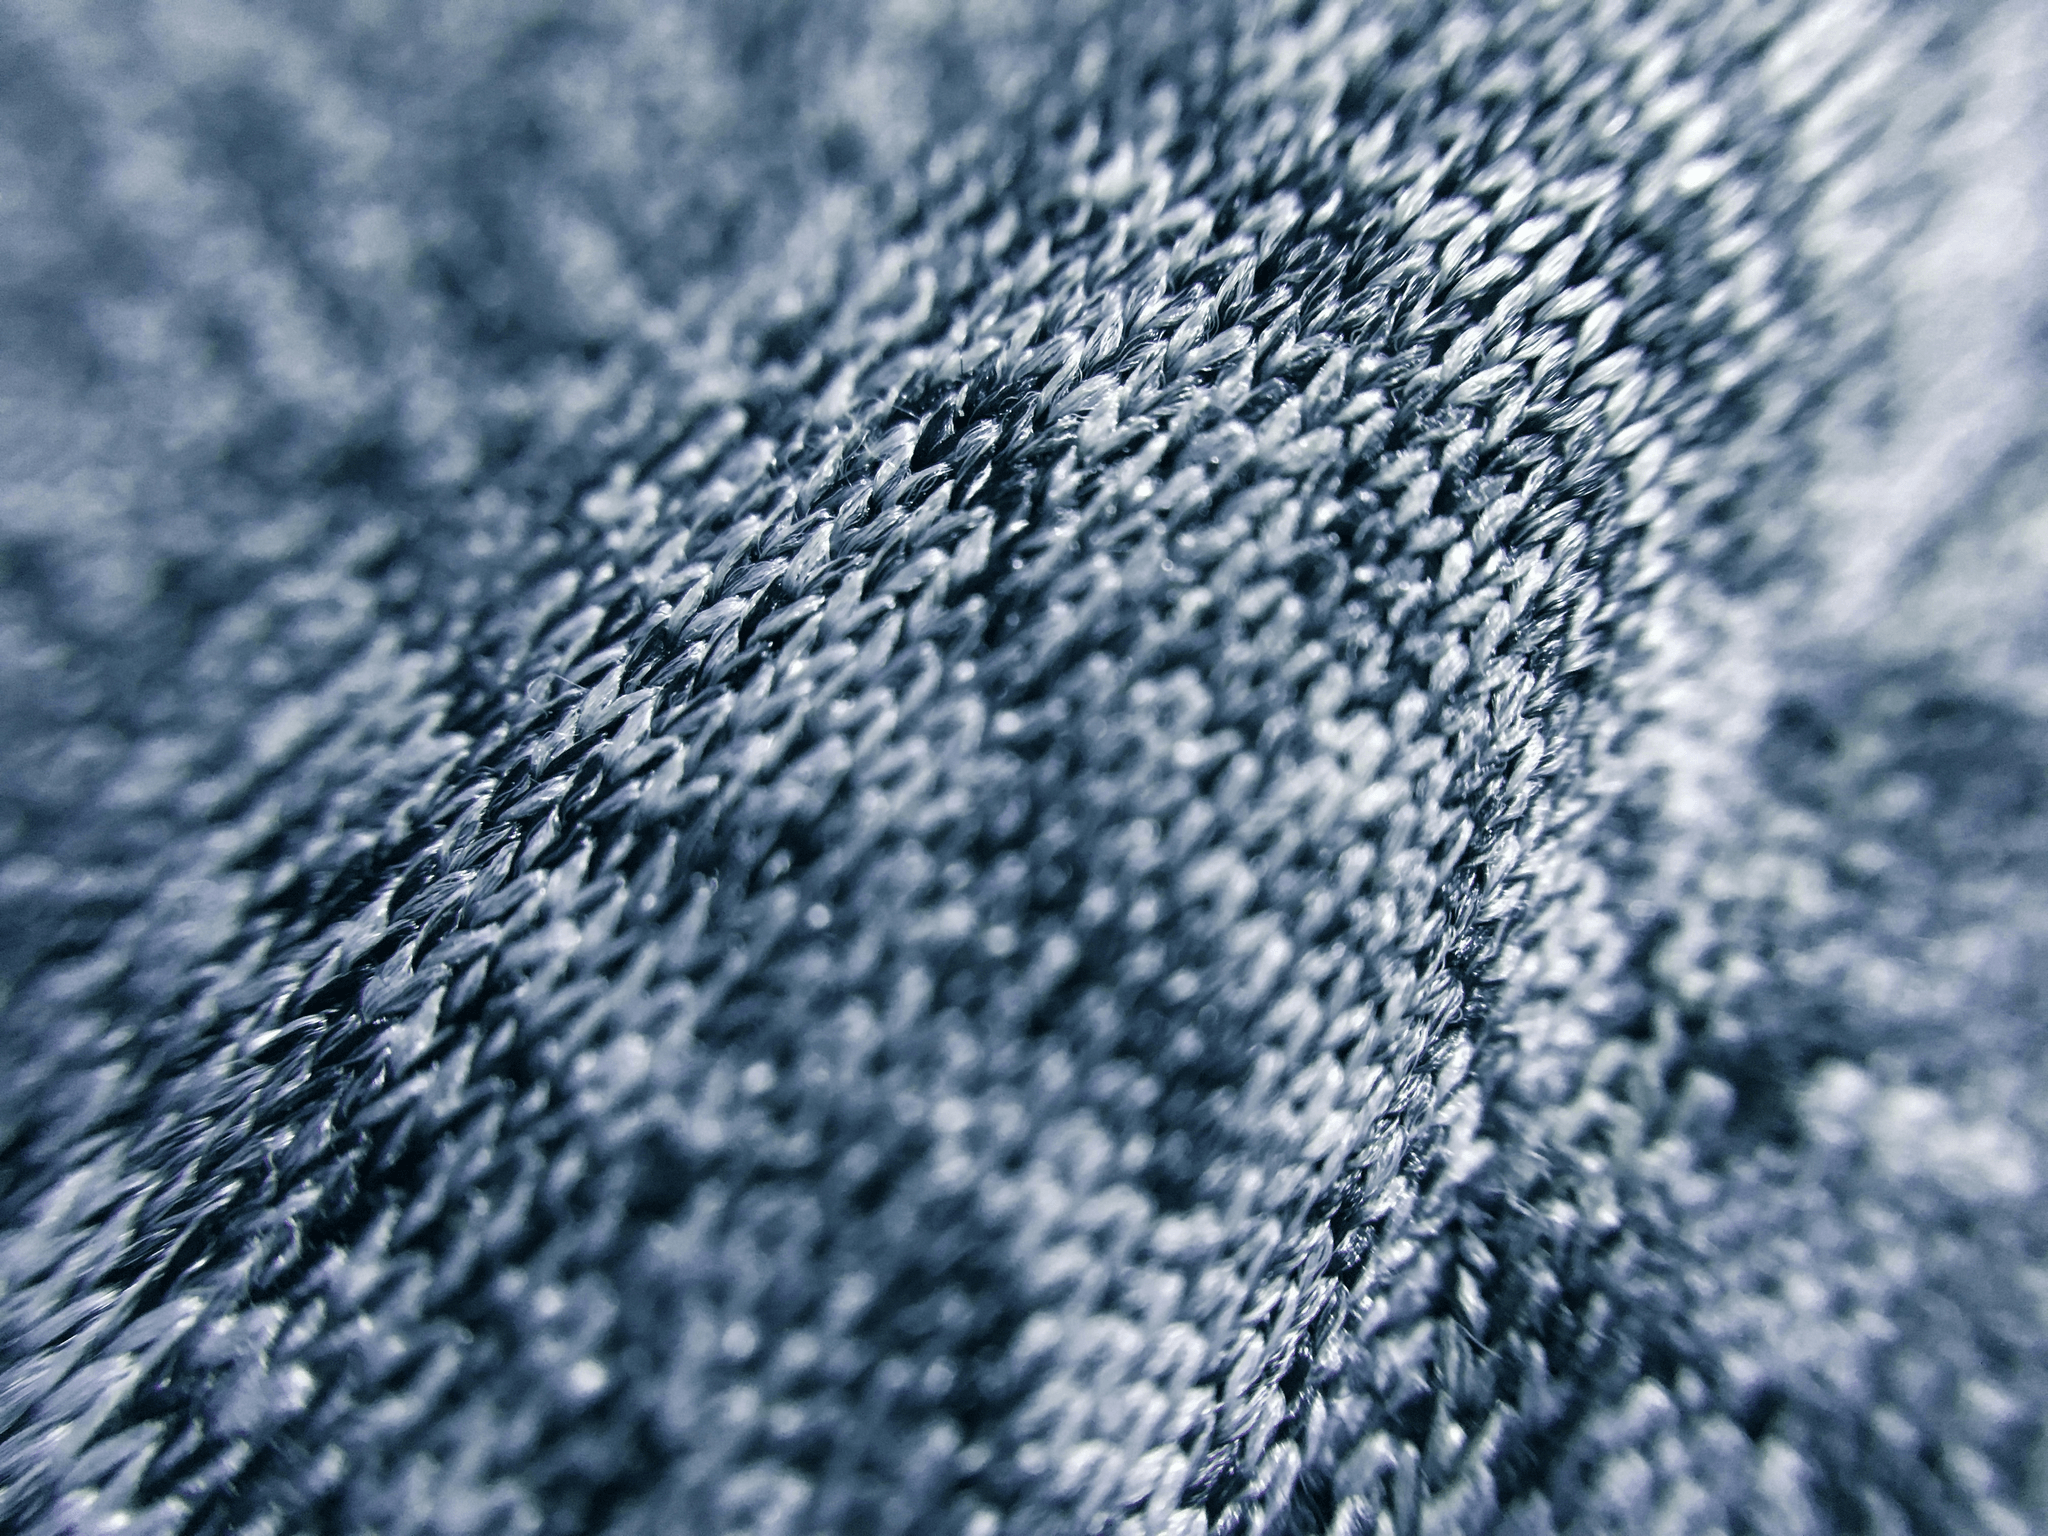
When it comes to yarn inspection, understanding the different types of yarn defects is crucial for maintaining high-quality standards. These defects can range from surface blemishes to internal flaws that might compromise the final product’s integrity. Recognizing these issues early allows manufacturers to address problems effectively and prevent costly rework down the line.
Surface defects are often the first thing noticed during yarn inspection. Common surface issues include thick and thin places, slubs, or uneven coloring, which can be caused by improper spinning or contamination. Detecting these surface defects requires a keen eye and proper lighting, making surface inspection a vital part of the overall process.
Internal defects are trickier but equally important during yarn inspection. Internal flaws such as weak spots, internal knots, or broken fibers may not be visible on the surface but can significantly weaken the yarn’s strength and durability. Using advanced techniques like ultrasound inspection helps identify these internal defects early, ensuring only top-quality yarn proceeds further in production.
Understanding manufacturing flaws and contamination is also key in recognizing Types of Yarn Defects. Contaminants like dirt or foreign matter can lead to uneven dyeing or weakening of fibers, affecting both appearance and performance. Properly inspecting for manufacturing flaws ensures that contaminated or flawed yarn does not compromise your final textile products.
Knowing how to correct yarn defects after yarn inspection is essential for optimizing quality control efforts. Once defective batches are identified—whether due to surface blemishes or internal weaknesses—sorting and reprocessing are necessary steps to improve product standards. Partnering with specialists who excel in how to correct yarn defects after yarn inspection can streamline this process efficiently.
Analyzing the 4 Important Factors to Consider When Performing a Yarn Inspection
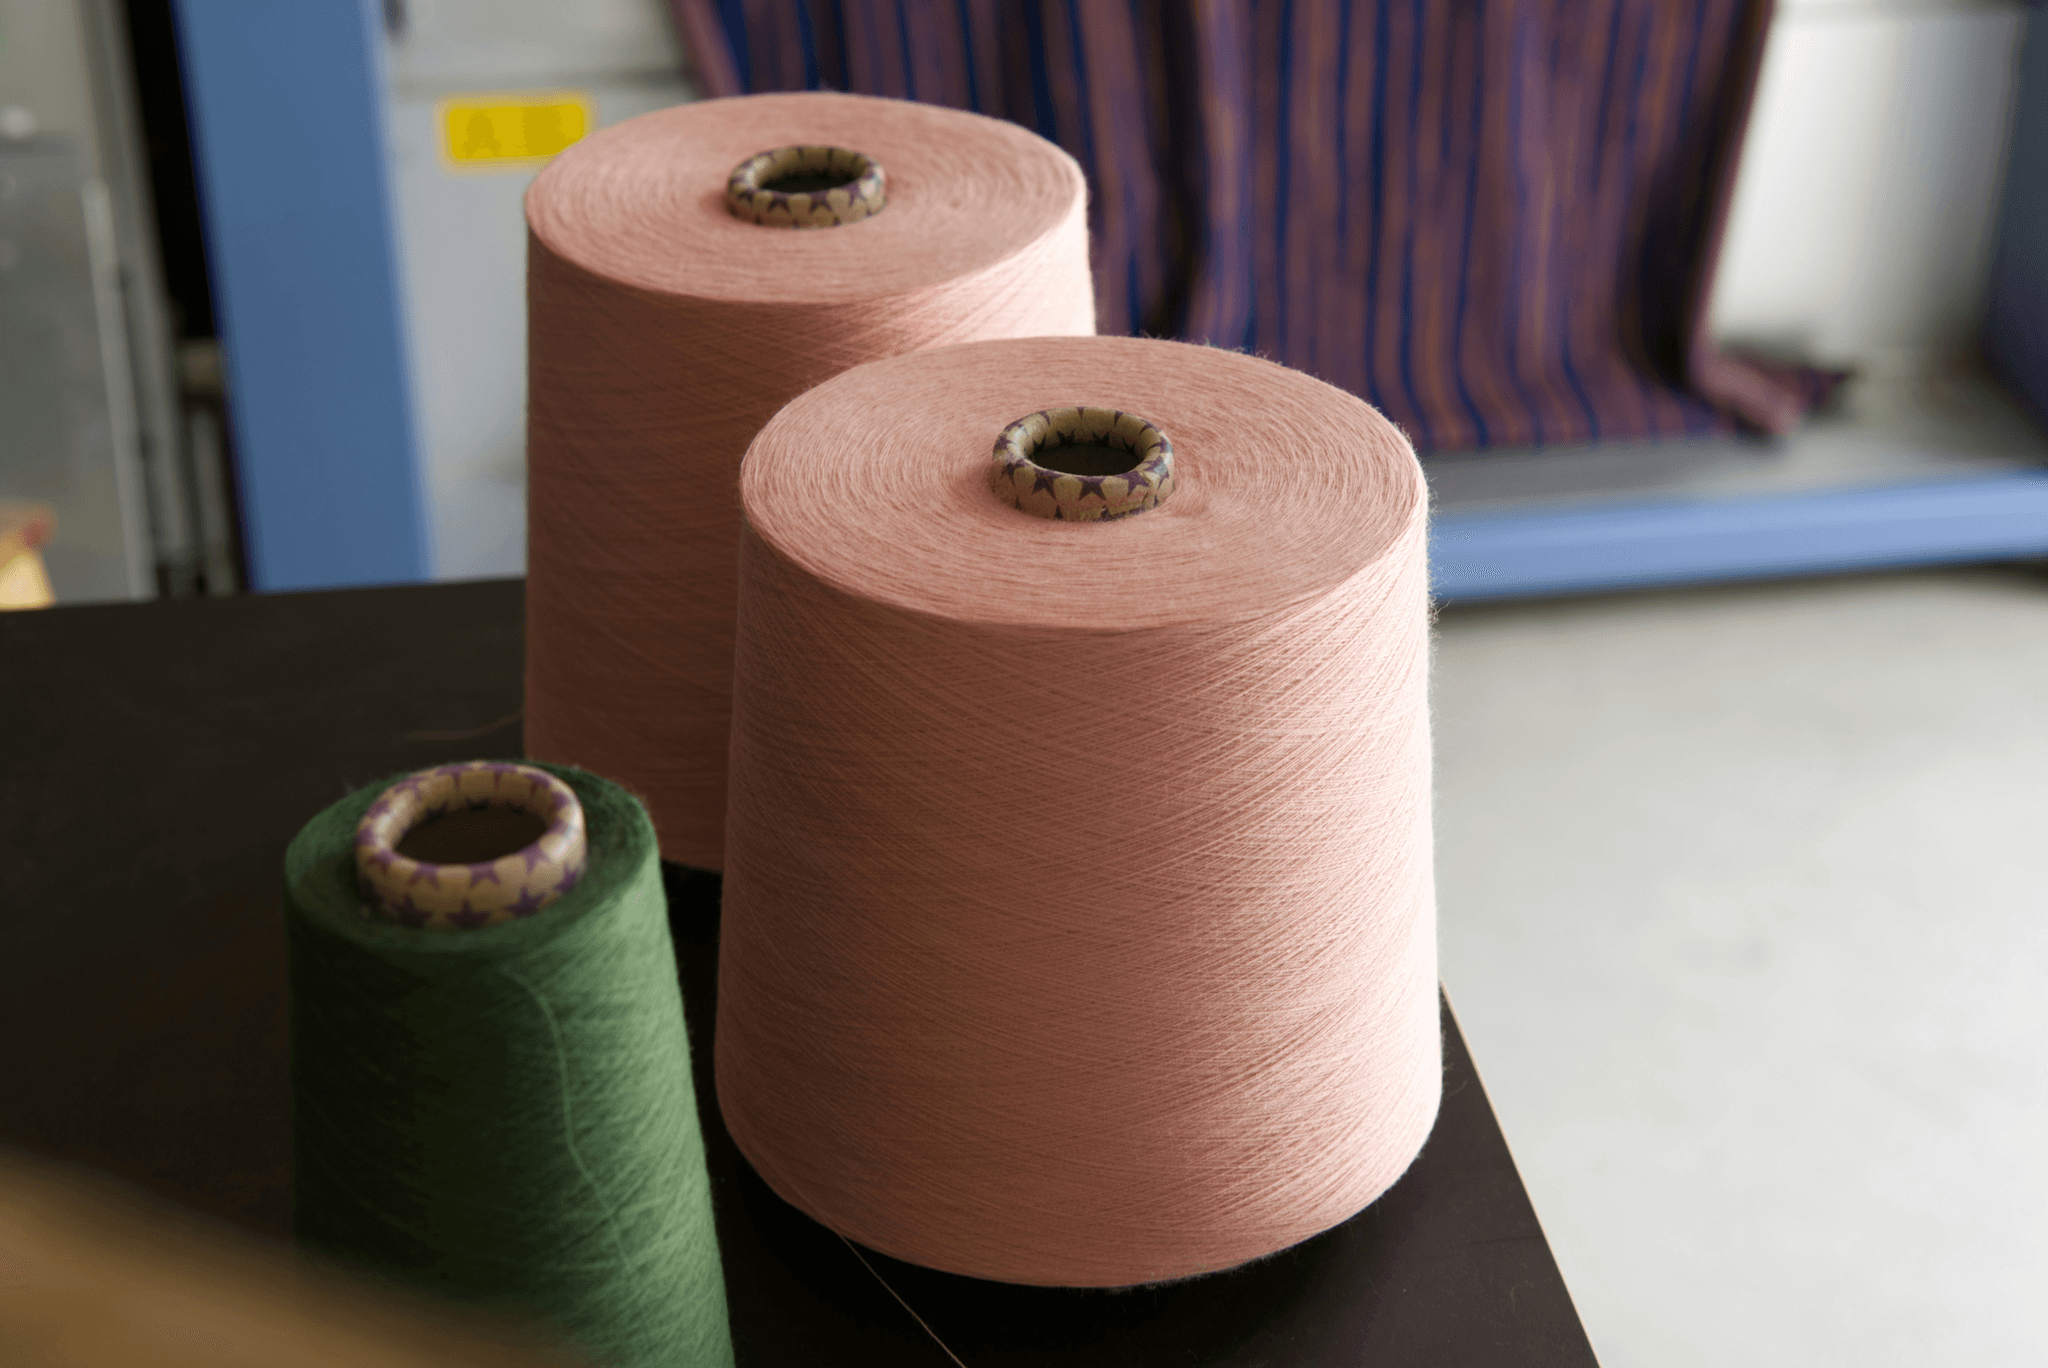
Performing a thorough yarn inspection requires a keen eye for detail and a solid understanding of the 4 Important factors to consider when performing a yarn inspection. These factors are critical in identifying Types of Yarn Defects early, ensuring the quality of the final product. Ignoring these aspects can lead to overlooked surface defects or internal defects that compromise your textile’s integrity, so paying close attention is key.
Material Composition and Fiber Quality
The foundation of any quality yarn inspection begins with material composition and fiber quality. High-quality fibers reduce the likelihood of surface defects and internal defects that could weaken the yarn’s structure over time. When evaluating these factors, it’s essential to verify that the fibers meet specified standards because subpar materials often lead to visible surface defects or hidden internal flaws during inspection.
Yarn Twist and Tension Consistency
Yarn twist and tension consistency are vital components in preventing Types of Yarn Defects such as unevenness, knots, or weak spots. Inconsistent tension can cause irregularities like thick and thin places, which are common surface defects noted during visual inspections. Maintaining proper twist levels ensures uniformity throughout the yarn, making it easier to spot potential issues during yarn inspection before they escalate into larger problems.
Dimensional Stability and Uniformity
Dimensional stability and uniformity play a significant role in ensuring that your yarn maintains its shape without developing unexpected internal defects or surface imperfections over time. Variations here might manifest as uneven diameter or inconsistent length—both red flags during yarn inspection processes. Regularly checking for dimensional stability helps catch subtle issues early before they become costly manufacturing setbacks.
Presence of Foreign Matter and Contaminants
Foreign matter and contaminants are often overlooked but can be major culprits behind Types of Yarn Defects that diminish product quality—think fiber contamination, dirt, or foreign particles lodged within the yarn structure. During yarn inspection, detecting these contaminants quickly allows for proper correction methods such as reprocessing or sorting. Addressing this factor promptly ensures your final product remains free from unexpected flaws caused by external impurities.
How to Correct Yarn Defects After Yarn Inspection

Once you've completed the meticulous process of yarn inspection, the real work begins—correcting those pesky defects to ensure top-notch quality. Properly addressing issues like surface defects and internal defects is crucial for maintaining consistency and meeting industry standards. Understanding how to correct yarn defects after yarn inspection can save you time, money, and headaches down the line.
Sorting and Separating Faulty Yarn
The first step in correcting yarn defects after yarn inspection is to sort and separate faulty yarn from the good stuff. This process involves identifying types of yarn defects such as blemishes, knots, or thick and thin places that compromise your product’s integrity. By categorizing these issues based on the 4 important factors to consider when performing a yarn inspection—material composition, twist consistency, dimensional stability, and foreign matter—you can efficiently isolate problematic batches for reprocessing or disposal.
Effective sorting not only prevents defective yarn from contaminating your final product but also streamlines subsequent repair efforts. Remember, surface defects are often visible during visual inspections, while internal defects might require specialized techniques like ultrasound inspection for detection. Proper separation ensures that only high-quality yarn progresses through production channels, ultimately elevating your textile standards.
Implementing Repair Techniques and Reprocessing
After sorting out faulty yarn, it's time to implement repair techniques or reprocess the defective batches. For surface defects such as thick or thin places caused by uneven tension or contamination, re-spinning or blending with higher-quality fibers can help restore uniformity. When internal defects like weak spots or internal breakages are detected—sometimes revealed through advanced methods like ultrasound inspection—more intensive reprocessing may be necessary.
Reprocessing might involve breaking down defective yarn into fibers for reuse or employing specialized machinery to rectify twist inconsistencies and eliminate foreign matter contamination. Remember that understanding how to correct yarn defects after yarn inspection hinges on accurately diagnosing whether issues stem from material composition flaws or manufacturing errors related to tension control during spinning processes.
Partnering with Quality Inspection Experts like China Inspection Pro
Sometimes tackling defect correction requires a little outside help—enter quality inspection experts like China Inspection Pro who excel in ensuring your textile products meet rigorous standards. These professionals bring expertise in identifying types of yarn defects through comprehensive inspections that encompass both surface and internal defect detection methods. Collaborating with such specialists guarantees that corrective actions align with industry best practices while adhering to international standards.
Partnering with experienced inspectors ensures you’re not just blindly fixing issues but strategically addressing root causes based on the 4 important factors to consider when performing a yarn inspection—material quality, twist uniformity, dimensional stability, and contamination levels. Their guidance helps optimize your correction processes efficiently while elevating overall product quality through expert insights into how to correct yarn defects after yarn inspection effectively.
Conclusion
In the world of textile manufacturing, ensuring quality through meticulous yarn inspection is non-negotiable. By understanding the 4 important factors to consider when performing a yarn inspection—such as fiber quality, twist, tension, and dimensional stability—you can catch potential issues early. Recognizing Types of Yarn Defects like surface flaws and internal defects helps prevent defective yarn from slipping into your final product line, saving time and costs down the road.
Knowing how to correct yarn defects after yarn inspection is crucial for maintaining high standards; whether it's sorting out faulty batches or reprocessing damaged yarn, proactive measures make all the difference. Regularly engaging in comprehensive inspections not only improves product consistency but also boosts customer satisfaction by delivering superior textile products. Elevate your standards with professional guidance from China Inspection Pro—your partner in mastering yarn inspection for flawless results.